
 |
 |
 |
 |

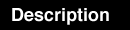
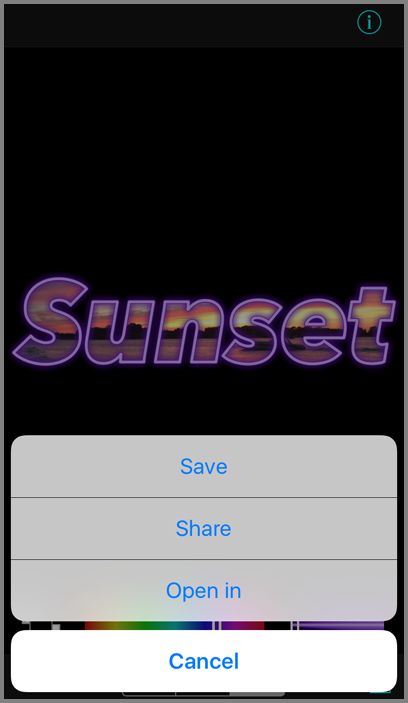
Getting Started: Tap the plus icon to open an image. Then use the shape icon to choose a frame shape, the crop icon to scale and position the frame, and the rainbow icon to select a background color and the frame color and width. Finally use the arrow icon to save and/or share your framed image.
New images are created at twice the display resolution, using the current crop aspect ratio and filled with the current background color. If there isn't an active aspect ratio, a square image is created. Note that you can save or share at a higher (or lower) resolution and the frame will be re-created, not just scaled. You can zoom and pan the image with pinch and drag gestures, and double tap to unzoom. (The unzoomed image will always be displayed when cropping or changing the frame width.)

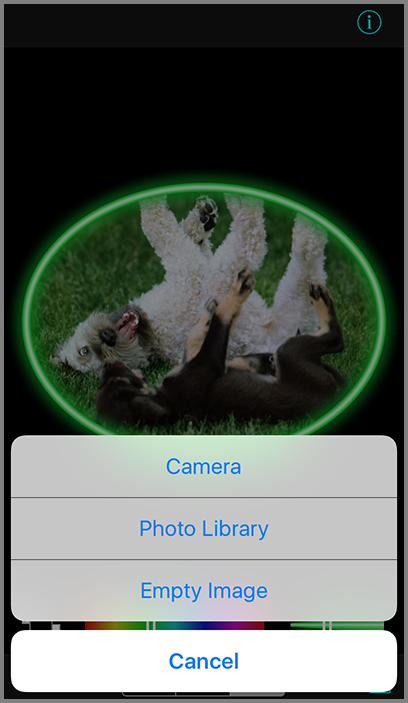
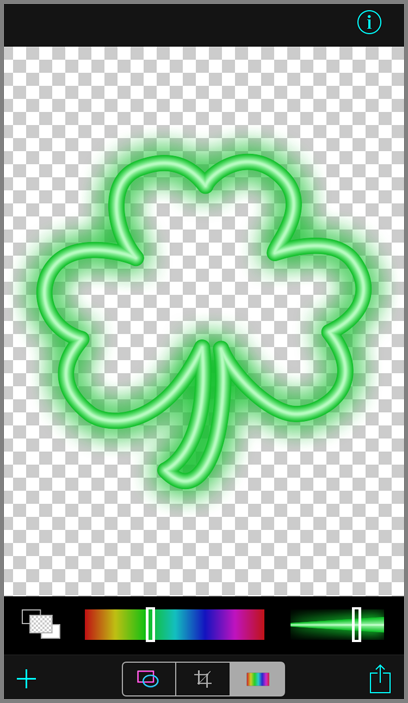
If you select the Text shape, you will also choose a font and enter the text for the frame. Bolder fonts make better frames, as more of the image is visible inside the characters. For a neon sign effect, try an ultra light font.

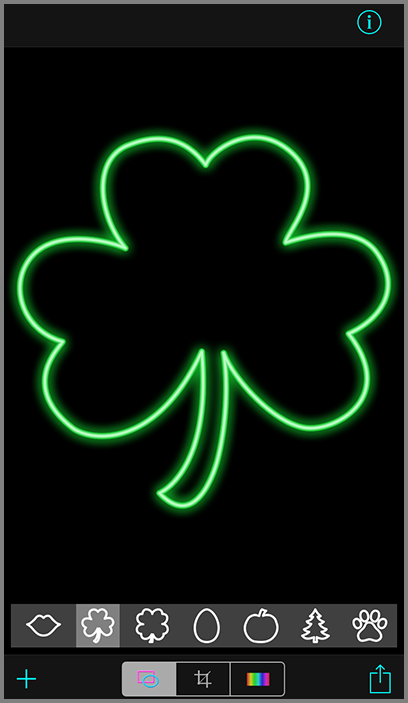
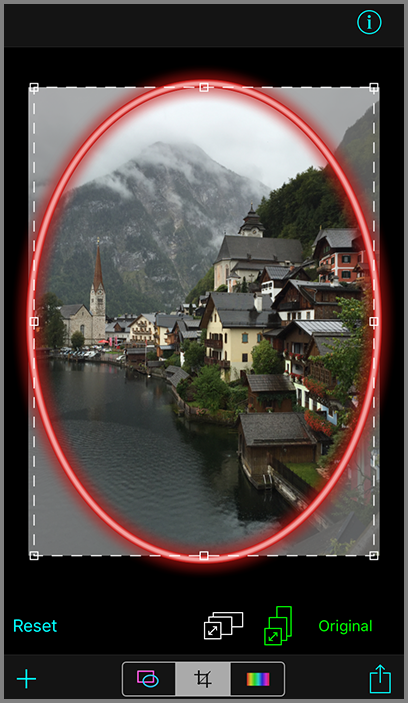
Press the Reset button to restore the original uncropped image. Use the buttons on the right to select a landscape or portrait aspect ratio to constrain the crop rectangle. 
When an aspect ratio constraint has been activated, the corresponding button will turn green and the aspect ratio will be displayed. Tap the green button to deactivate it. The crop will be applied when you exit crop mode by pressing the shape or color icon, or when you save or share the image. Note that the aspect ratio is applied to the framed image, and unless the aspect ratio is square, the crop rectangle will have a different aspect ratio. That is why part of the original image may be cropped out when you choose the Original aspect ratio. Also, changing the frame width will change the aspect ratio of the framed image, so if the aspect ratio of the final framed image is important, your final step should be sizing and positioning the crop.

Tap the icon on the left to toggle between a black, white, and transparent background. Use the center slider to change the frame color, and the slider on the right to control the frame width.
Note that if you use a transparent background, or if your original image has transparency, then when you save or share your framed photo, PNG format will be used to preserve that transparency. Also note that PNG files are larger than JPEG files.
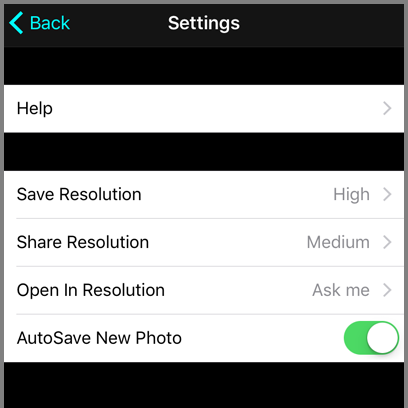
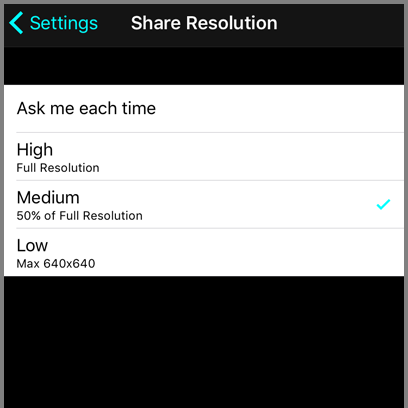
If you want to maintain your original image resolution, choose High. This will preserve the full resolution image, which is your original image, unscaled, minus any area that you cropped out, plus the frame (so the final image may be larger or smaller than the original). Higher resolution images take longer to save, longer to email, longer to upload, and use more space on your device, so don't save or share more than you need. Medium resolution is half the full resolution, and Low resolution is 640 x 640 or less, depending on the aspect ratio of your image. When sharing and opening in other apps, note that the service or app that you choose may also scale your image to conform to its resolution requirements. When AutoSave New Photo is on, the uncropped, unframed version of photos that you shoot in NeonFrames will be automatically saved. |
 |
 | |
 | |
 | |
 | |
 | |
 | |
 |
|
Copyright ©2009-2018 FreshAir Software Inc. All rights reserved. |